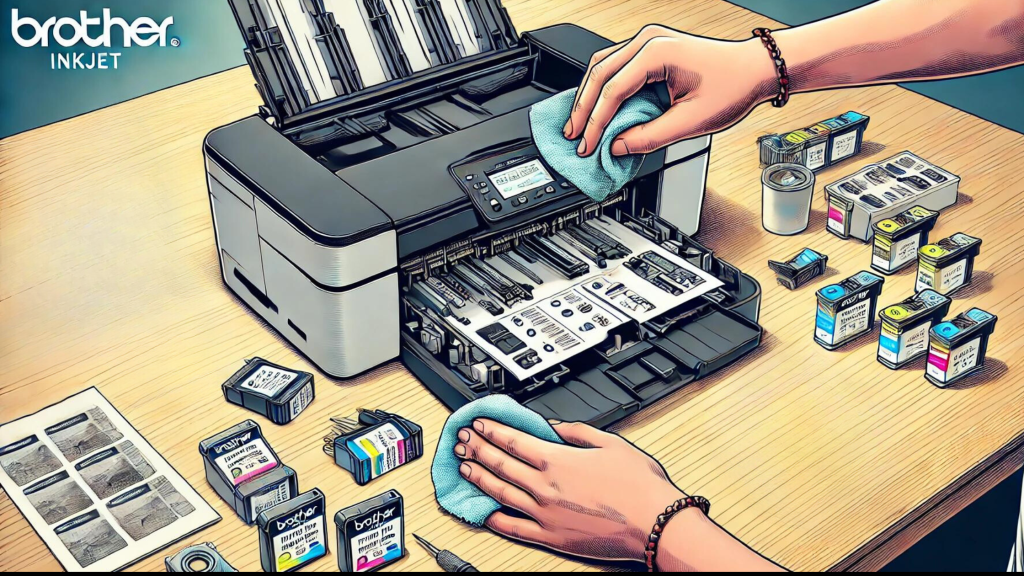
Below is a concise, step-by-step guide for cleaning the “printer head” area of a Brother laser printer—though in laser printers, you’re typically cleaning the corona wire, laser glass, and/or drum unit rather than a traditional “print head.” Always refer to your model-specific Brother manual for exact instructions.
1. Power Down and Unplug
- Turn Off the Printer
- Power off your Brother laser printer.
- Unplug the Printer
- Disconnect it from the power source to avoid electric shock and allow internal components to cool.
2. Open the printer and remove consumables.
- Open Front Cover
- Refer to your printer manual to find the release latch or handle.
- Remove Drum & Toner Assembly
- Gently pull out the combined toner cartridge and drum unit.
- Place it on a clean, flat surface covered with disposable paper or cloth to catch any loose toner.
3. Clean the Corona Wire
- Locate the Corona Wire
- On most Brother drum units, you’ll find a small, recessed slider tab labeled “Corona Wire.”
- Slide the Tab Gently
- Move the tab from left to right several times to clear away toner buildup.
- Important: Return the tab to its original position before reinstalling the drum unit.
- Wipe Away Excess Toner
- Use a lint-free cloth (dry or slightly damp with isopropyl alcohol) to remove any visible toner or dust.
- Avoid touching the drum’s photosensitive surface with your fingers.
4. Clean the laser glass (if accessible).
- Locate the Laser Glass
- Some Brother laser printers have a small glass strip inside the printer’s top or front cavity.
- Use a Soft, Dry Cloth
- Gently wipe any dust or smudges off the glass.
- For stubborn marks, use a lint-free cloth lightly moistened with isopropyl alcohol.
- Avoid Scratches
- Apply minimal pressure to prevent scratching the glass, which can lead to print-quality issues.
5. Reassemble and Test
- Reinstall the drum & toner.
- Slide the drum-toner assembly back into the printer until it clicks into place.
- Close All Covers
- Make sure everything is securely closed.
- Power On
- Plug the printer back in and turn it on.
- Test Print
- Print a test page to confirm that the faint or streaky areas have improved.
6. Additional Tips and Precautions
- Wear Gloves: Toner can be messy, and certain models might have more loose toner than others.
- Use Compressed Air Sparingly: If you use compressed air, do so gently and in short bursts to avoid scattering toner inside the printer.
- Regular Maintenance: Cleaning every few months or whenever print quality declines can extend the life of your drum unit and keep prints crisp.
- Replace Consumables: If pages remain faint or streaky after cleaning, you may need to replace the drum unit or toner cartridge.
When to Contact Support
If you still experience poor print quality (light spots, streaks, or ghosting) after cleaning these components, it may indicate:
- A worn drum that needs replacement.
- A faulty toner cartridge or non-Brother cartridge is causing issues.
- Hardware problems such as a damaged or worn fuser roller.
In these cases, consult your Brother user manual or contact Brother Support for additional assistance. Proper maintenance and prompt troubleshooting will help ensure your Brother laser printer continues to produce sharp, professional printouts.